
Categories / Squad Guides / Strike Force Johnny Cage, Tormented Soul Spawn and Klassic Movie Johnny Cage Team

Strike Force Johnny Cage, Tormented Soul Spawn and Klassic Movie Johnny Cage Team

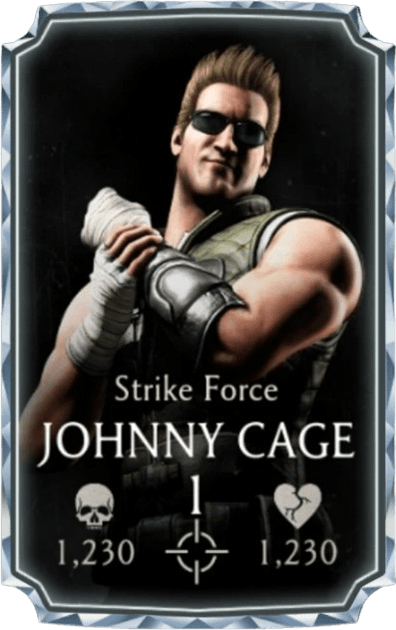
Johnny Cage
Strike Force
Johnny Cage
Spec Ops
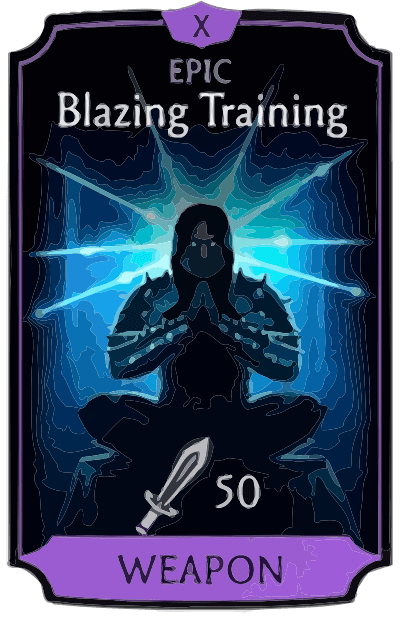
Blazing Training
Equipment
Blazing Training
- 15% Lethal Blow Chance boost.
- 100% chance to apply Shield Break for 7sec before any Special Attack.
- 600% Damage boost. Hellspawn Tower only.
- [LIU KANG] Liu Kang gains stack of Courage after every Combo Ender. Max 4 stacks. For each stack he has a 25% chance to perform Special Attack 1 instead of Combo Ender. Applies Stun on the opponent after SP1 used this way. The Courage resets after triggering the effect.
- [LIU KANG] [SET] If this is equipped alongside Blazing Girdle, any DIAMOND Liu Kang gains the ability to perform a Friendship. Once the opponent’s Health is below 25% and the Friendship bar is filled up by performing multiple Special Attacks, a Friendship can be performed, ending the fight immediately.
- [X] While the user is active, gain 10% Damage boost every 4sec, maximum 100%. There is a 25% chance to also apply Blind for 8sec after receiving boost from this effect. (Unlocks at fusion level X)
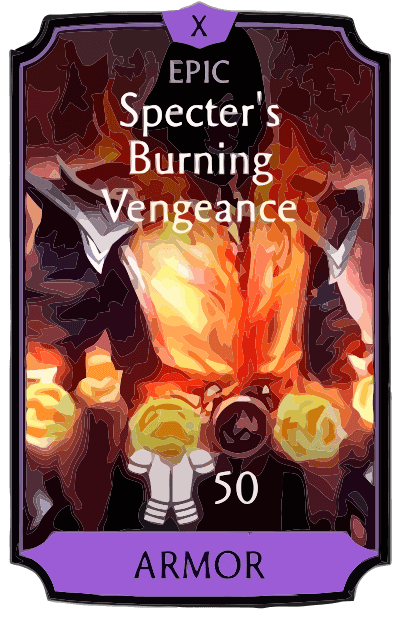
Specter's Burning Vengeance
Equipment
Specter's Burning Vengeance
- The user deals additional damage to opponent team and applies Team Fire on Special Attack 5 times per battle. These Fires can stack.
- 40% Chance to gain 0.5 Bar of Power when opponents resist a debuff.
- 1200% Max Health boost. Shirai Ryu Tower only.
- [SCORPION] [SET] If this is equipped alongside Specter's Infernal Chains, any DIAMOND or ASCENDED Fusion V Scorpion gains a 40% chance to perform a Special Combo Ender dealing massive damage. If the last opponent is under 25% health, a Brutality is performed instead of the Special Combo Ender, ending the fight immediately.
- [X] The user explodes into flames when defeated, dealing 30% (15% for Bosses) damage of max HP to all opponents and applying Team Shield Break. (Unlocks at fusion level X)
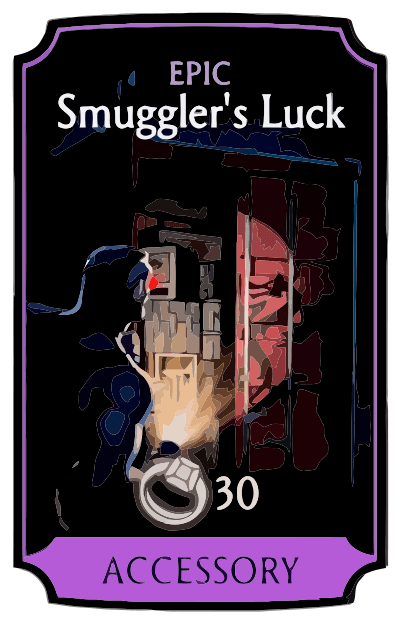
Smuggler's Luck
Equipment
Smuggler's Luck
- 60% Chance to gain Luck after Special Attack 1.
- Special Attack 1 deals 20% more damage after each use, stacks up to 5 times.
- 225% Damage boost. Black Dragon Tower only.
- 450% Max Health boost. Black Dragon Tower only.
- [X] 10% Chance to gain Dispel after a successful critical hit.
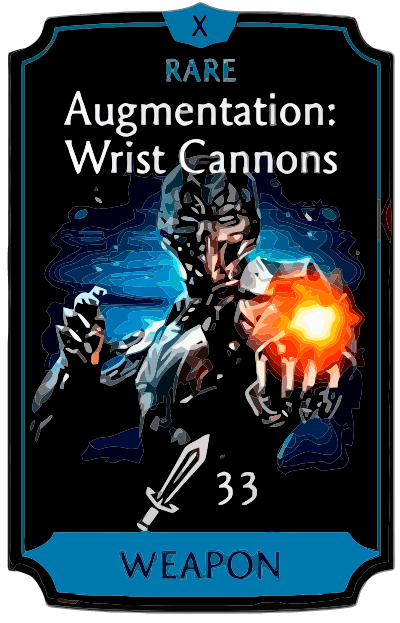
Augmentation: Wrist Cannons
Equipment
Augmentation: Wrist Cannons
- 40% Basic Attacks unblockable chance.
- 50% Chance to apply one of the following negative effects on Combo Enders for 10 sec.: Blind, Cripple, Slow and Shield Break.
- [TRIBORG] [SET] If this is equipped alongside Augmentation: Neural Link, any ASCENDED Fusion V Triborg gains a 40% chance to perform a Special Combo Ender dealing massive damage. If the last opponent is under 25% health, a Brutality is performed instead of the Special Combo Ender, ending the fight immediately.
- [X] Special Attacks additionally deal 30% damage to all opponents that have negative effects on them. Unique personal effects are excluded. (Unlocks at fusion level X)
Spawn
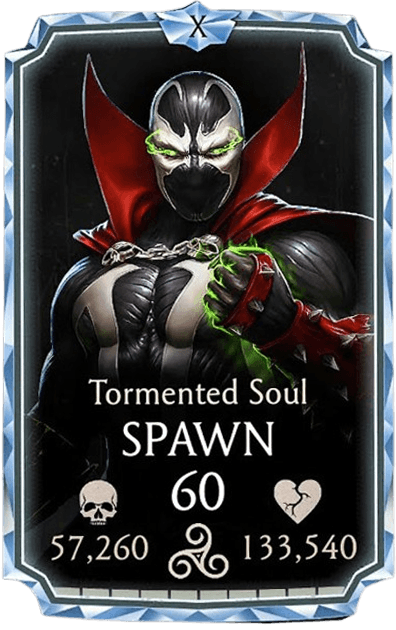
Tormented Soul
Spawn
Nomad
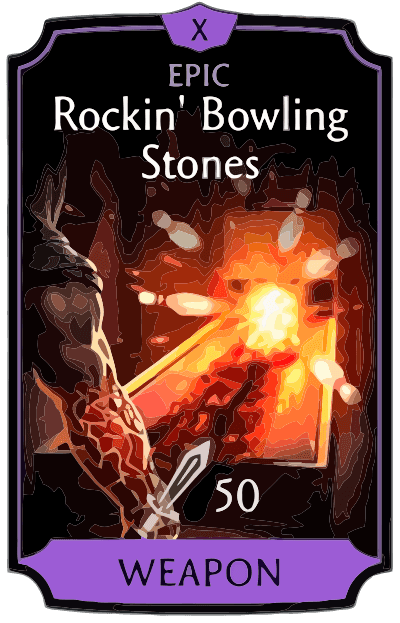
Rockin' Bowling Stones
Equipment
Rockin' Bowling Stones
- Team gains a 35% Unblockable chance on Basic Attacks.
- Each acquired bar of Power while tagged-in grants the user 2% Speed boost until the end of the match. Max. amount of stacks: 20.
- 600% Damage boost. Klassic Tower only.
- [TREMOR] Tremor gains Rock Energy after every Combo Ender. Gaining 5 Rock Energy stacks causes Rock Overload, which explodes and drains all of the opponent's team power. Receiving unblocked damage or tag-out resets the number of Rock Energy stacks.
- [TREMOR] [SET] If this is equipped alongside Rockin’ Token, any DIAMOND or ASCENDED Fusion V Tremor gains a 40% chance to perform a Special Combo Ender dealing massive damage. If the last opponent is under 25% health, a Brutality is performed instead of the Special Combo Ender, ending the fight immediately.
- [X] The user's damage increases upon losing Health. The more Health is lost, the higher the Damage is. Maximum damage boost - 99% at 1% Health. (Unlocks at fusion level X)
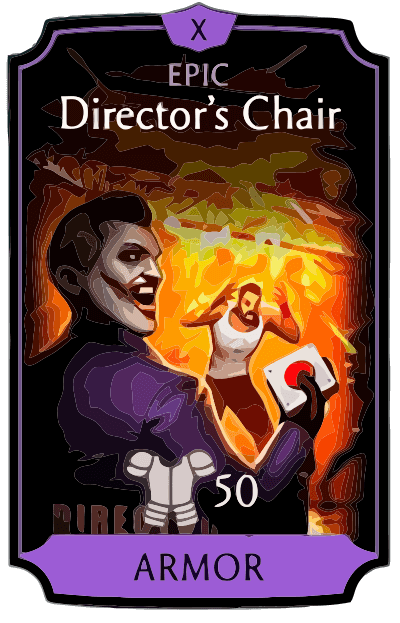
Director's Chair
Equipment
Director's Chair
- 100% Chance to gain Dispel on successful Special Attacks.
- For every bar of Power spent by the user’s team, the team gains 35% Critical Hit Damage boost for 20sec. This Critical Hit Damage boost can stack up to 3 times.
- 1200% Max Health boost. Action Movie Tower only.
- [THE JOKER] For every teammate’s final death, The Joker gains a 10% Power Generation boost and all incoming attacks damage reduction until the end of the match. The faster the teammate dies, the larger the damage reduction is.
- [THE JOKER] [SET] If this is equipped alongside Director’s Makeover, any DIAMOND or ASCENDED The Joker gains a 40% chance to perform a Special Combo Ender dealing massive damage. If the last opponent is under 25% health, a Brutality is performed instead of the Special Combo Ender, ending the fight immediately.
- [X] 50% Chance to gain Invulnerability when debuffs were removed by Dispel from the user. (Unlocks at fusion level X)
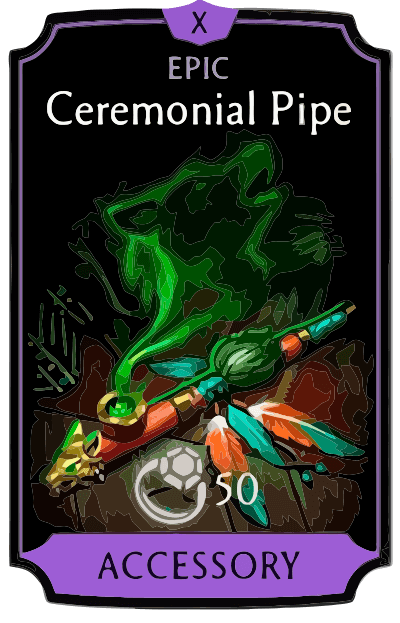
Ceremonial Pipe
Equipment
Ceremonial Pipe
- Gain 100% Damage boost while the character is not affected by any debuff.
- Whenever an opponent tries to apply a positive combat effect on themselves, there is a 100% chance to steal the effect for the user. Works for tagged-out user as well. Unique personal buffs can't be stolen.
- 225% Damage boost. Elder Wind Tower only.
- 450% Max Health boost. Elder Wind Tower only.
- [X] 30% Chance to apply a random buff to the user on Combo Ender. (Unlocks at fusion level X)
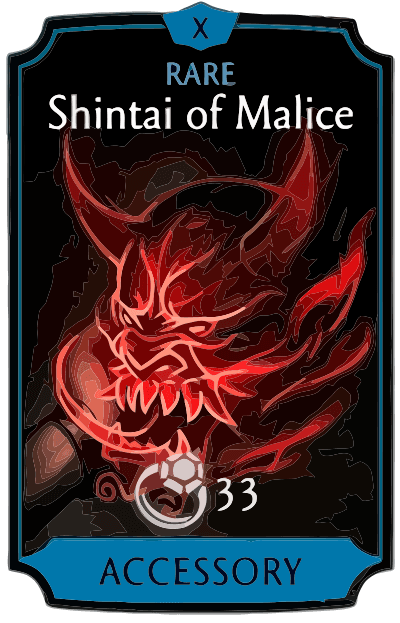
Shintai of Malice
Equipment
Shintai of Malice
- 100% Chance to apply Death Mark on the user's tag-in.
- 30% Team Resistance to all debuffs.
- 150% Damage boost. White Lotus Tower only.
- 300% Max Health boost. White Lotus Tower only.
- [X] 15% Damage boost and 5% Lethal Hit chance boost for each active Death Mark on the active opponent.
Johnny Cage
Klassic Movie
Johnny Cage
Spec Ops
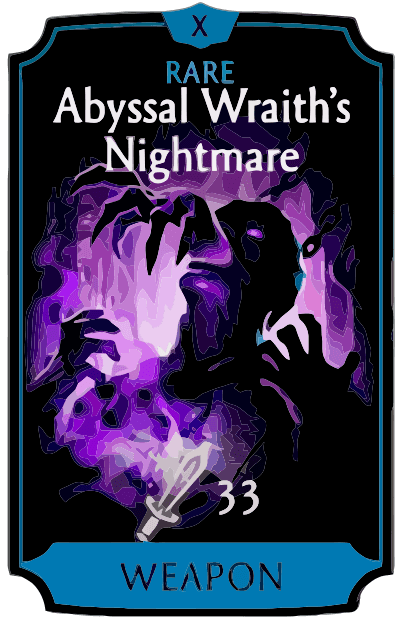
Abyssal Wraith's Nightmare
Equipment
Abyssal Wraith's Nightmare
- 60% chance to apply Blind at the start of the match when equipped on a starting character and on user's tag-out for 10 sec..
- 50% chance to apply Death Mark when applying any other debuff on the active opponent.
- [NOOB SAIBOT] [SET] If this is equipped alongside Abyssal Wraith's Shadow, any DIAMOND Noob Saibot gains the ability to perform a Friendship. Once the opponent's Health is below 25% and the Friendship bar is filled up by performing multiple Special Attacks, a Friendship can be performed, ending the fight immediately.
- [X] 25% Damage boost and 10% Critical hit chance boost for each active Death Mark on the active opponent. (Unlocks at fusion level X)
Royalguard's Cowl
Equipment
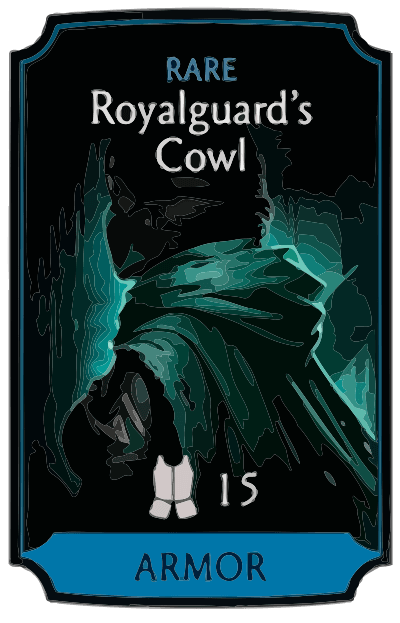
Royalguard's Cowl
- 10sec the Power duration gained on tag-in.
- 60% chance to apply Oblivion on every 3rd Block Breaker attack.
- [JADE] [SET] If this is equipped alongside Royalguard's Emerald Haze, any DIAMOND Jade gains the ability to perform a Friendship. Once the opponent's Health is below 25% and the Friendship bar is filled up by performing multiple Special Attacks, a Friendship can be performed, ending the fight immediately.
- [X] User's Special Attack Damage is increased by 5% for each active debuff on the opponent. Maximum Damage Boost - 30%. (Unlocks at fusion level X)
Misfortune Teller
Equipment
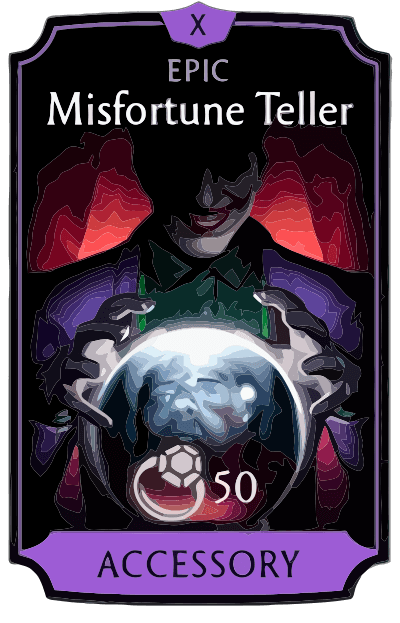
Misfortune Teller
- 100% Chance to apply Curse debuff to the whole opponent team on successful Special Attack 1.
- 70% Critical Hit chance boost against enemies affected by Curse.
- 225% Damage boost. Twisted Tower only.
- 450% Max Health boost. Twisted Tower only.
- [X] Misfortune foresight gives a 30% chance to gain Invulnerability for 5sec before any incoming Special Attack. (Unlocks at fusion level X)
Tempest Lasso
Equipment
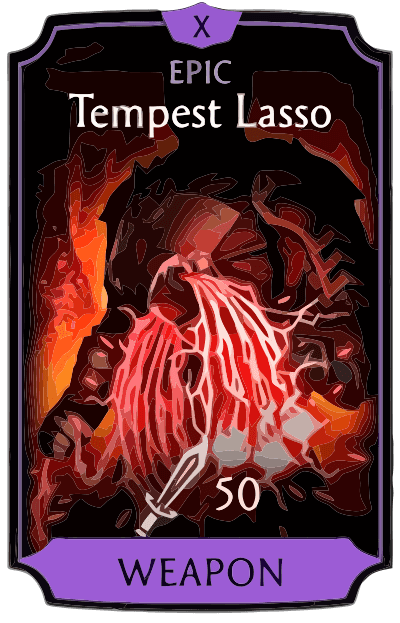
Tempest Lasso
- 50% Basic Attacks unblockable chance.
- 100% Chance to apply Snare after performing successful Special Attack 1.
- 600% Damage boost. Hellspawn Tower only.
- [RAIDEN] 40% Chance to counter-attack opponent’s Special Attacks with Tempest attack, dealing damage and applying Fire to the whole opponent team.
- [RAIDEN] [SET] If this is equipped alongside Tempest Bangle, any DIAMOND Raiden gains the ability to perform a Friendship. Once the opponent’s Health is below 25% and the Friendship bar is filled up by performing multiple Special Attacks, a Friendship can be performed, ending the fight immediately.
- [X] Gain 1 Bar of Power and Speed for 5sec. on tag-in. (Unlocks at fusion level X)

How To Use

This team uses Strike Force Johnny Cage as the main active damage dealer, Tormented Soul Spawn as a reserve support, and Klassic Movie Johnny Cage for control and finishing setups. Spawn builds Necroplasm while tagged out, increasing the team's Max Health until you decide to spend it on his counterattack. Start with Strike Force Johnny Cage and keep pressure with basic attacks and Special Attacks. His damage and Power generation increase as he loses Health, so surviving a difficult exchange can make his next offensive cycle much stronger. Blazing Training applies Shield Break before his Special Attacks, while Specter's Burning Vengeance adds Team Fire to his first several Special Attacks. Keep Spawn in reserve while Johnny fights so Necroplasm can build quickly. Stored Necroplasm increases the entire team's Max Health, and at two or three bars Spawn's counterattack becomes a useful interruption with a chance to Stun. When Spawn does tag in, Shintai of Malice immediately applies Death Mark, while Director's Chair rewards the team's Power spending with temporary Critical Hit Damage boosts. Klassic Movie Johnny Cage is the control option. His Special Attack 1 simultaneously works well with Misfortune Teller to Curse the opposing team and Tempest Lasso to Snare the active opponent. Abyssal Wraith's Nightmare can also add Death Mark when Johnny applies a debuff, making him useful for locking down and finishing dangerous targets. The basic plan is Strike Force Johnny pressure → leave Spawn in reserve to build Necroplasm → use Klassic Movie Johnny's SP1 when Curse, Snare and Death Mark pressure are needed → bring Spawn in when his charged counterattack or Death Mark setup is worth spending the stored Necroplasm support.

Best Teams by mode: compositions, equipment and replacements →