Categories / Teams / Death Mark MK11 Liu Kang Team

Death Mark MK11 Liu Kang Team

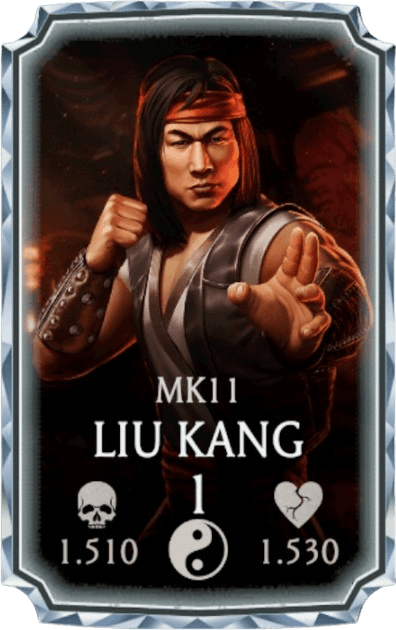
Liu Kang
MK11
Liu Kang
Martial Artist
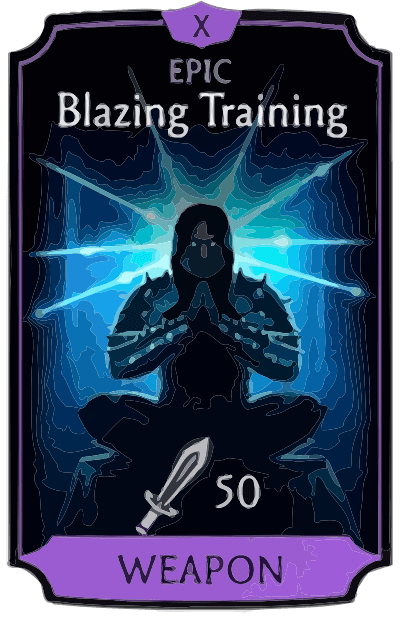
Blazing Training
Equipment
Blazing Training
- 15% Lethal Blow Chance boost.
- 100% chance to apply Shield Break for 7sec before any Special Attack.
- 600% Damage boost. Hellspawn Tower only.
- [LIU KANG] Liu Kang gains stack of Courage after every Combo Ender. Max 4 stacks. For each stack he has a 25% chance to perform Special Attack 1 instead of Combo Ender. Applies Stun on the opponent after SP1 used this way. The Courage resets after triggering the effect.
- [LIU KANG] [SET] If this is equipped alongside Blazing Girdle, any DIAMOND Liu Kang gains the ability to perform a Friendship. Once the opponent’s Health is below 25% and the Friendship bar is filled up by performing multiple Special Attacks, a Friendship can be performed, ending the fight immediately.
- [X] While the user is active, gain 10% Damage boost every 4sec, maximum 100%. There is a 25% chance to also apply Blind for 8sec after receiving boost from this effect. (Unlocks at fusion level X)
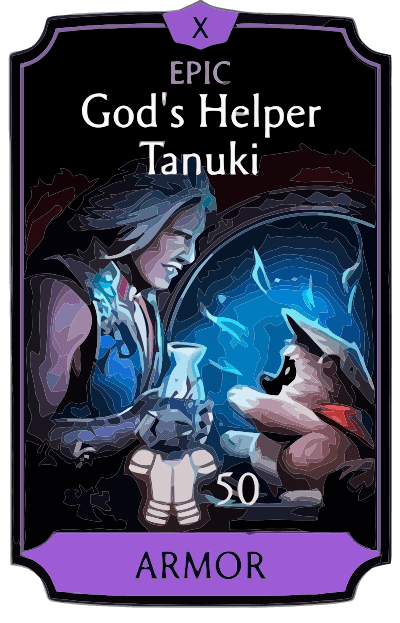
God's Helper Tanuki
Equipment
God's Helper Tanuki
- 55% Max Health boost.
- On the user's tag-in, there is a 100% chance that the Tanuki joins the user and starts playing drums. While its enchanting rhythm can be heard, the user gets affected by Luck and the opponent gets affected by Weaken. The opponent can use Dispel to get rid of enchantment and make Tanuki run away.
- 1200% Max Health boost. White Lotus Tower only.
- [FUJIN] On incoming Special Attack or X-ray/Fatal Blow, there is a 40% chance that Fujin will summon a Wind Shield that will not allow this Special Attack to deal more damage than 10% of his Max Health.
- [FUJIN] [SET] If this is equipped alongside God's Helper Kitsune, any DIAMOND or ASCENDED Fusion V Fujin gains a 40% chance to perform a Special Combo Ender dealing massive damage. If the last opponent is under 25% health, a Brutality is performed instead of the Special Combo Ender, ending the fight immediately.
- [X] Once per match upon receiving fatal damage, the user is saved by Tanuki who possesses the user for 10sec., receiving damage and fighting back in their place. After Tanuki leaves, the next teammate to tag-in can be chosen. (Unlocks at fusion level X)
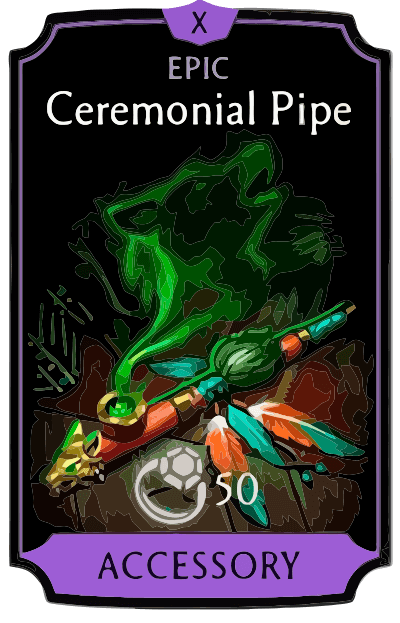
Ceremonial Pipe
Equipment
Ceremonial Pipe
- Gain 100% Damage boost while the character is not affected by any debuff.
- Whenever an opponent tries to apply a positive combat effect on themselves, there is a 100% chance to steal the effect for the user. Works for tagged-out user as well. Unique personal buffs can't be stolen.
- 225% Damage boost. Elder Wind Tower only.
- 450% Max Health boost. Elder Wind Tower only.
- [X] 30% Chance to apply a random buff to the user on Combo Ender. (Unlocks at fusion level X)
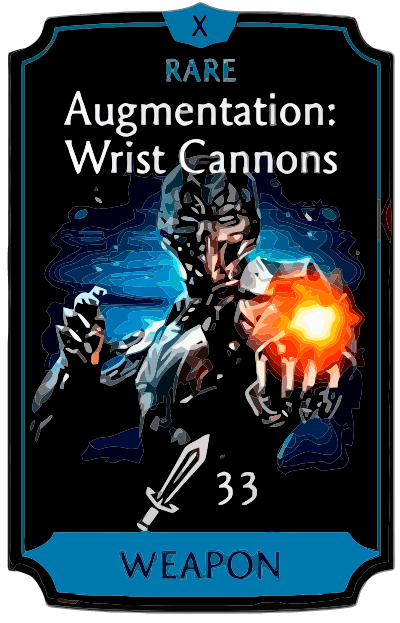
Augmentation: Wrist Cannons
Equipment
Augmentation: Wrist Cannons
- 40% Basic Attacks unblockable chance.
- 50% Chance to apply one of the following negative effects on Combo Enders for 10 sec.: Blind, Cripple, Slow and Shield Break.
- [TRIBORG] [SET] If this is equipped alongside Augmentation: Neural Link, any ASCENDED Fusion V Triborg gains a 40% chance to perform a Special Combo Ender dealing massive damage. If the last opponent is under 25% health, a Brutality is performed instead of the Special Combo Ender, ending the fight immediately.
- [X] Special Attacks additionally deal 30% damage to all opponents that have negative effects on them. Unique personal effects are excluded. (Unlocks at fusion level X)
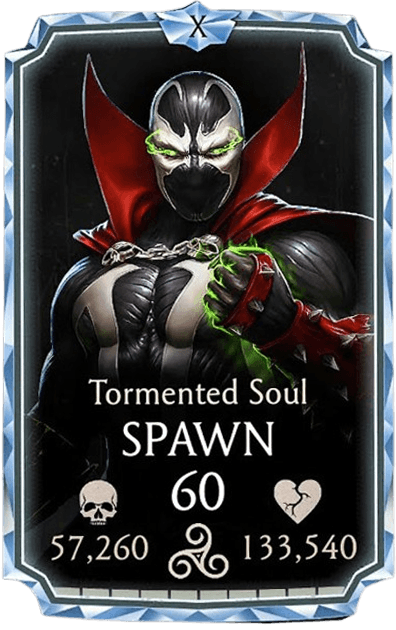
Spawn
Tormented Soul
Spawn
Nomad
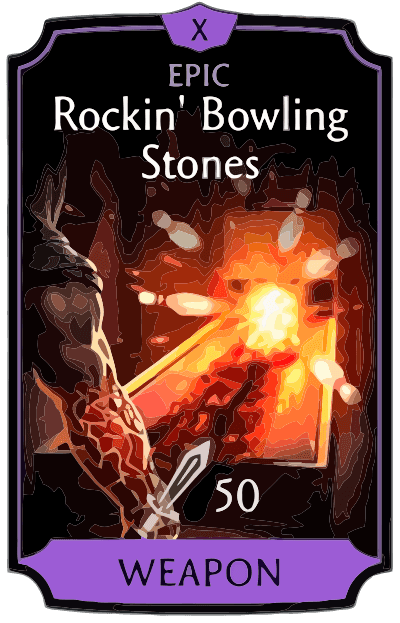
Rockin' Bowling Stones
Equipment
Rockin' Bowling Stones
- Team gains a 35% Unblockable chance on Basic Attacks.
- Each acquired bar of Power while tagged-in grants the user 2% Speed boost until the end of the match. Max. amount of stacks: 20.
- 600% Damage boost. Klassic Tower only.
- [TREMOR] Tremor gains Rock Energy after every Combo Ender. Gaining 5 Rock Energy stacks causes Rock Overload, which explodes and drains all of the opponent's team power. Receiving unblocked damage or tag-out resets the number of Rock Energy stacks.
- [TREMOR] [SET] If this is equipped alongside Rockin’ Token, any DIAMOND or ASCENDED Fusion V Tremor gains a 40% chance to perform a Special Combo Ender dealing massive damage. If the last opponent is under 25% health, a Brutality is performed instead of the Special Combo Ender, ending the fight immediately.
- [X] The user's damage increases upon losing Health. The more Health is lost, the higher the Damage is. Maximum damage boost - 99% at 1% Health. (Unlocks at fusion level X)
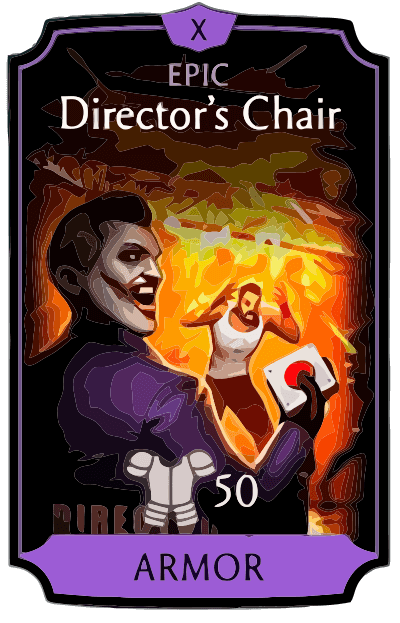
Director's Chair
Equipment
Director's Chair
- 100% Chance to gain Dispel on successful Special Attacks.
- For every bar of Power spent by the user’s team, the team gains 35% Critical Hit Damage boost for 20sec. This Critical Hit Damage boost can stack up to 3 times.
- 1200% Max Health boost. Action Movie Tower only.
- [THE JOKER] For every teammate’s final death, The Joker gains a 10% Power Generation boost and all incoming attacks damage reduction until the end of the match. The faster the teammate dies, the larger the damage reduction is.
- [THE JOKER] [SET] If this is equipped alongside Director’s Makeover, any DIAMOND or ASCENDED The Joker gains a 40% chance to perform a Special Combo Ender dealing massive damage. If the last opponent is under 25% health, a Brutality is performed instead of the Special Combo Ender, ending the fight immediately.
- [X] 50% Chance to gain Invulnerability when debuffs were removed by Dispel from the user. (Unlocks at fusion level X)
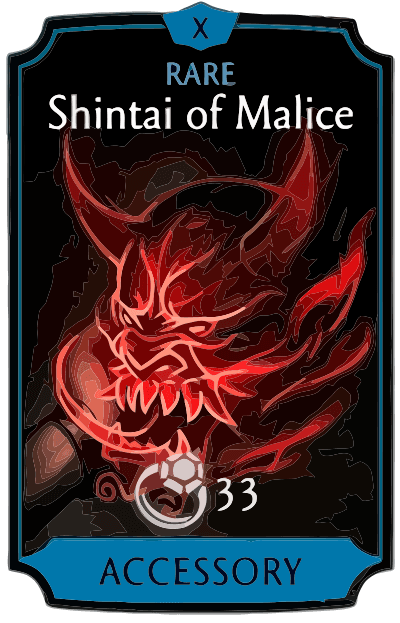
Shintai of Malice
Equipment
Shintai of Malice
- 100% Chance to apply Death Mark on the user's tag-in.
- 30% Team Resistance to all debuffs.
- 150% Damage boost. White Lotus Tower only.
- 300% Max Health boost. White Lotus Tower only.
- [X] 15% Damage boost and 5% Lethal Hit chance boost for each active Death Mark on the active opponent.
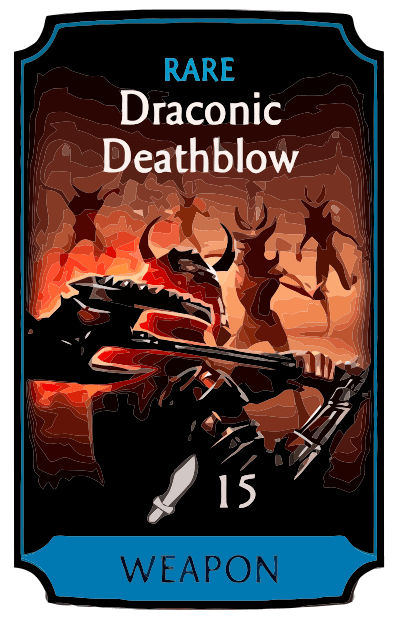
Draconic Deathblow
Equipment
Draconic Deathblow
- 30% Team Combo Ender chance boost.
- 30% Damage boost. For each defeated character the user gains additional 15% damage boost.
- [SHAO KAHN] [SET] If this is equipped alongside Draconic Bloodline, any DIAMOND Shao Kahn gains a 40% chance to perform a Special Combo Ender dealing massive damage. If the last opponent is under 25% health, a Brutality is performed instead of the Special Combo Ender, ending the fight immediately.
- [X] Whenever a character is defeated, their remaining Power transfers to the user. Has a 10sec cooldown. (Unlocks at fusion level X)
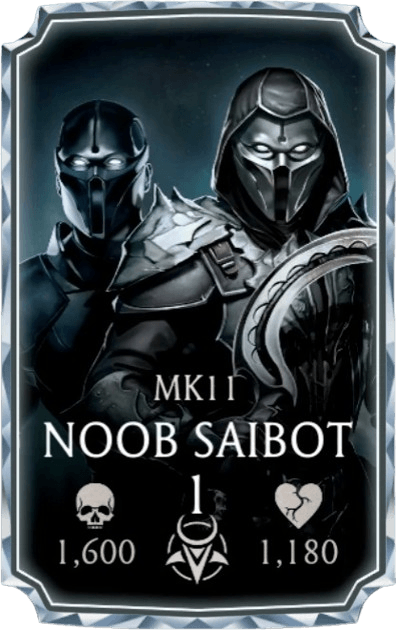
Noob Saibot
MK11
Noob Saibot
Netherrealm
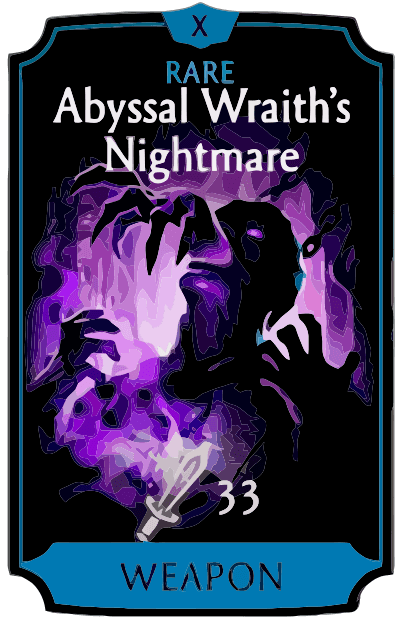
Abyssal Wraith's Nightmare
Equipment
Abyssal Wraith's Nightmare
- 60% chance to apply Blind at the start of the match when equipped on a starting character and on user's tag-out for 10 sec..
- 50% chance to apply Death Mark when applying any other debuff on the active opponent.
- [NOOB SAIBOT] [SET] If this is equipped alongside Abyssal Wraith's Shadow, any DIAMOND Noob Saibot gains the ability to perform a Friendship. Once the opponent's Health is below 25% and the Friendship bar is filled up by performing multiple Special Attacks, a Friendship can be performed, ending the fight immediately.
- [X] 25% Damage boost and 10% Critical hit chance boost for each active Death Mark on the active opponent. (Unlocks at fusion level X)
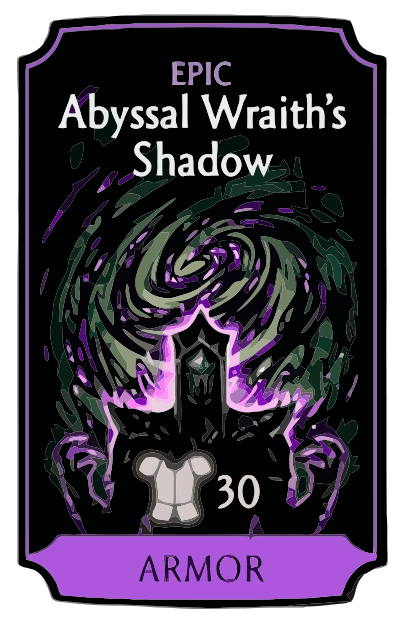
Abyssal Wraith’s Shadow
Equipment
Abyssal Wraith’s Shadow
- All opponent team's characters need to collect 40% more Power to fill up each power bar.
- Apply Team Incurability on user’s tag-in. If opponent tags out while the user is active, increase the duration of the effect by 15sec. Maximum duration 15sec.
- [NOOB SAIBOT] If opponent is affected by 3 Death Marks at a time, they receive Death Brand till the character is dead. On tag-in, Noob Saibot force tags in the opponent affected by Death Brand with the least health left, dealing 50% damage of user’s base Attack. Death Brand additionally decreases opponent’s Power generation by 10%.
- [NOOB SAIBOT] [SET] If this is equipped alongside Abyssal Wraith’s Nightmare, any DIAMOND Noob Saibot gains the ability to perform a Friendship. Once the opponent’s Health is below 25% and the Friendship bar is filled up by performing multiple Special Attacks, a Friendship can be performed, ending the fight immediately.
- [X] 30% Chance to reflect any debuff. Team debuffs are not affected. Each reflected debuff additionally deals damage to the opponent. (Unlocks at fusion level X)
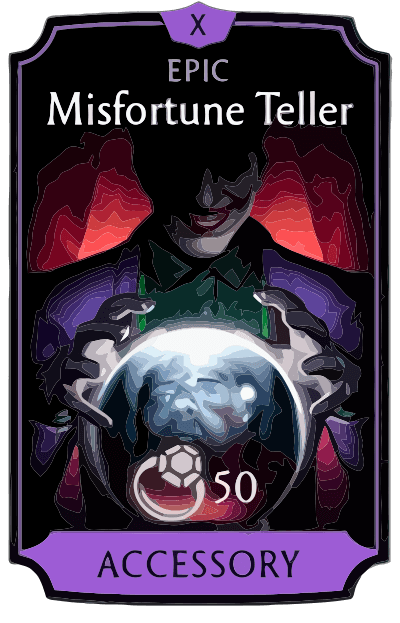
Misfortune Teller
Equipment
Misfortune Teller
- 100% Chance to apply Curse debuff to the whole opponent team on successful Special Attack 1.
- 70% Critical Hit chance boost against enemies affected by Curse.
- 225% Damage boost. Twisted Tower only.
- 450% Max Health boost. Twisted Tower only.
- [X] Misfortune foresight gives a 30% chance to gain Invulnerability for 5sec before any incoming Special Attack. (Unlocks at fusion level X)
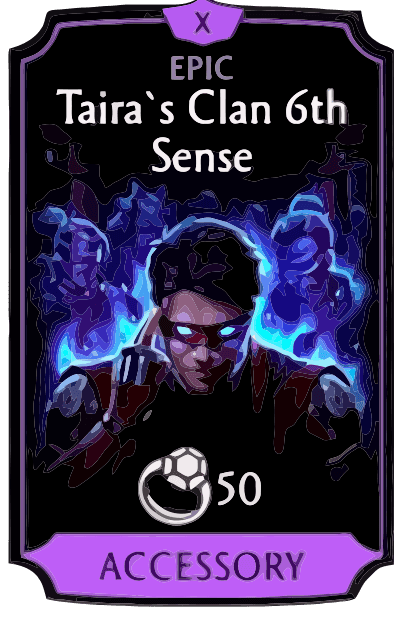
Taira's Clan 6th Sense
Equipment
Taira's Clan 6th Sense
- 40% Basic Attacks unblockable chance.
- 50% Chance to increase Speed by 1% on Block Breaker attack. Max 15%.
- [KENSHI] 75% Chance to apply 6th Sense buff for 10sec. after Special Attack 2. It increases damage by 5% every second while the buff is active and makes all attacks undodgeable and unavoidable. Successful Basic Hits have a 7% chance to increase the duration of the buff by 3sec..
- [KENSHI] [SET] If this is equipped alongside Taira's Clan Suit, any DIAMOND or ASCENDED Fusion V Kenshi gains a 40% chance to perform a Special Combo Ender dealing massive damage. If the last opponent is under 25% health, a Brutality is performed instead of the Special Combo Ender, ending the fight immediately.
- [X] Gain 2 Bars of Power at the start of the match or at the first user's tag-in and 80% resistance to all debuffs for the first 30sec. while the user is active. (Unlocks at fusion level X)

How To Use

This team is built around MK11 Liu Kang's sustained pressure, Tormented Soul Spawn supporting the whole team while building Necroplasm, and MK11 Noob Saibot controlling enemies with Death Mark. Keep Liu Kang active and build Concussion through repeated attacks. Blazing Training adds Shield Break before his Special Attacks and rewards repeated Combo Enders, while Augmentation: Wrist Cannons adds block breaking and additional debuffs from Combo Enders. This makes Liu Kang the main source of continuous pressure. Spawn can stay tagged out while accumulating Necroplasm. His equipment is heavily focused on team support: Rockin' Bowling Stones increases the team's unblockable chance, while Director's Chair increases the team's Critical Hit Damage as Power is spent. When Spawn enters, Shintai of Malice immediately applies Death Mark. Use Noob Saibot when stronger control is needed. Abyssal Wraith's Shadow applies Team Incurability on tag-in, while Misfortune Teller lets Special Attack 1 apply Curse to the entire enemy team. Together with Noob's own Death Marks, this makes him especially useful against healing and resurrection. The main plan is to keep Liu Kang active for most of the fight, let Spawn build Necroplasm and provide passive team bonuses, and tag Noob in when Death Mark, Incurability or Curse is needed.

Best Teams by mode: compositions, equipment and replacements →