

Categories / Squad Guides / Dots Scropion MK11 Team

Dots Scropion MK11 Team

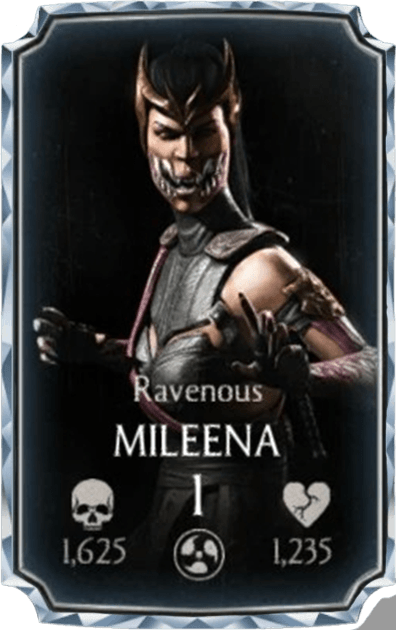
Mileena
Ravenous
Mileena
Outworld
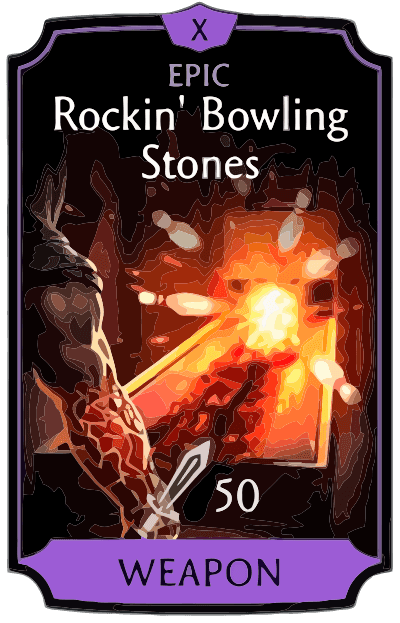
Rockin' Bowling Stones
Equipment
Rockin' Bowling Stones
- Team gains a 35% Unblockable chance on Basic Attacks.
- Each acquired bar of Power while tagged-in grants the user 2% Speed boost until the end of the match. Max. amount of stacks: 20.
- 600% Damage boost. Klassic Tower only.
- [TREMOR] Tremor gains Rock Energy after every Combo Ender. Gaining 5 Rock Energy stacks causes Rock Overload, which explodes and drains all of the opponent's team power. Receiving unblocked damage or tag-out resets the number of Rock Energy stacks.
- [TREMOR] [SET] If this is equipped alongside Rockin’ Token, any DIAMOND or ASCENDED Fusion V Tremor gains a 40% chance to perform a Special Combo Ender dealing massive damage. If the last opponent is under 25% health, a Brutality is performed instead of the Special Combo Ender, ending the fight immediately.
- [X] The user's damage increases upon losing Health. The more Health is lost, the higher the Damage is. Maximum damage boost - 99% at 1% Health. (Unlocks at fusion level X)
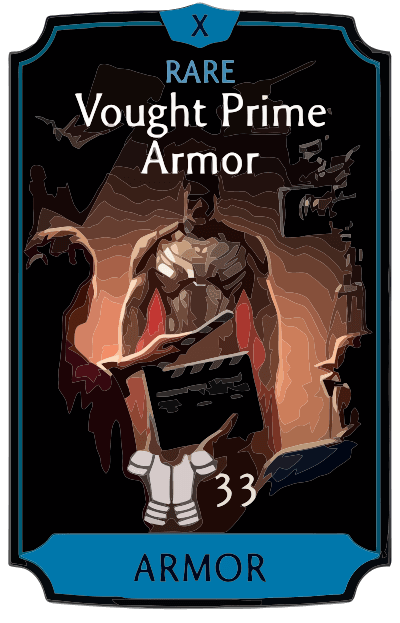
Vought Prime Armor
Equipment
Vought Prime Armor
- 30% incoming damage reduction when the user is below 50% Health.
- All opponent team's characters need to collect 20% more Power to fill up each power bar.
- 600% Max Health boost. Vought Tower only.
- [X] On tag-out gain 20 sec. of Team Shield.
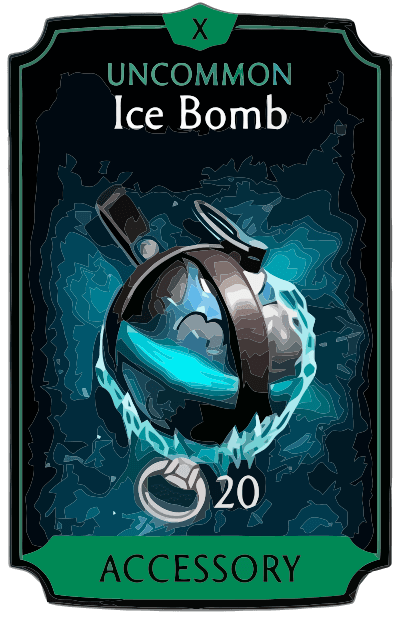
Ice Bomb
Equipment
Ice Bomb
- 20% Power generation boost.
- 50% Damage boost. Lin Kuei Tower only.
- 100% Max Health boost. Lin Kuei Tower only.
- [X] 100% Chance to apply Freeze to the active enemy at the start of the match when equipped on a starting character.
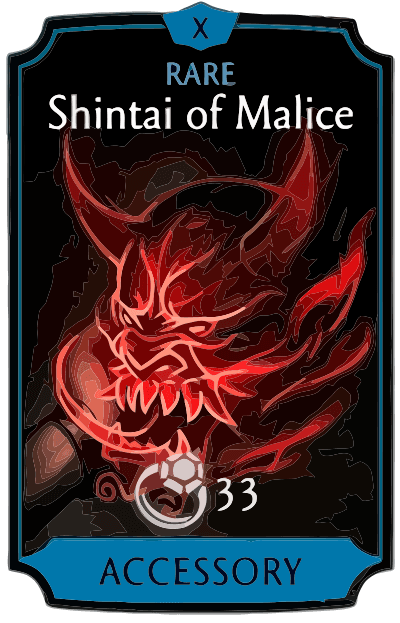
Shintai of Malice
Equipment
Shintai of Malice
- 100% Chance to apply Death Mark on the user's tag-in.
- 30% Team Resistance to all debuffs.
- 150% Damage boost. White Lotus Tower only.
- 300% Max Health boost. White Lotus Tower only.
- [X] 15% Damage boost and 5% Lethal Hit chance boost for each active Death Mark on the active opponent.
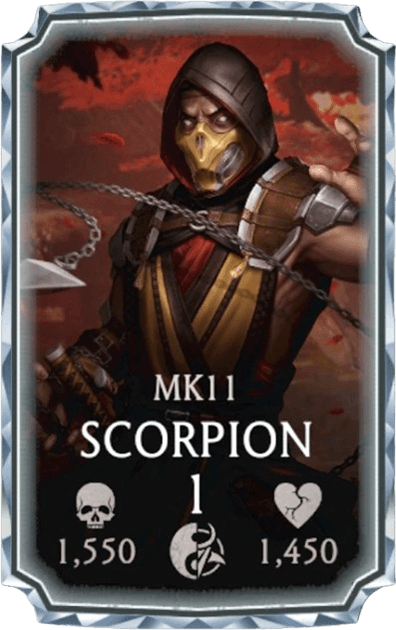
Scorpion
MK11
Scorpion
Martial Artist/Netherrealm
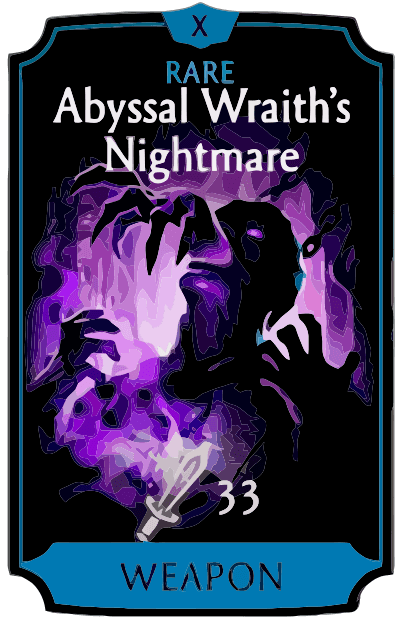
Abyssal Wraith's Nightmare
Equipment
Abyssal Wraith's Nightmare
- 60% chance to apply Blind at the start of the match when equipped on a starting character and on user's tag-out for 10 sec..
- 50% chance to apply Death Mark when applying any other debuff on the active opponent.
- [NOOB SAIBOT] [SET] If this is equipped alongside Abyssal Wraith's Shadow, any DIAMOND Noob Saibot gains the ability to perform a Friendship. Once the opponent's Health is below 25% and the Friendship bar is filled up by performing multiple Special Attacks, a Friendship can be performed, ending the fight immediately.
- [X] 25% Damage boost and 10% Critical hit chance boost for each active Death Mark on the active opponent. (Unlocks at fusion level X)
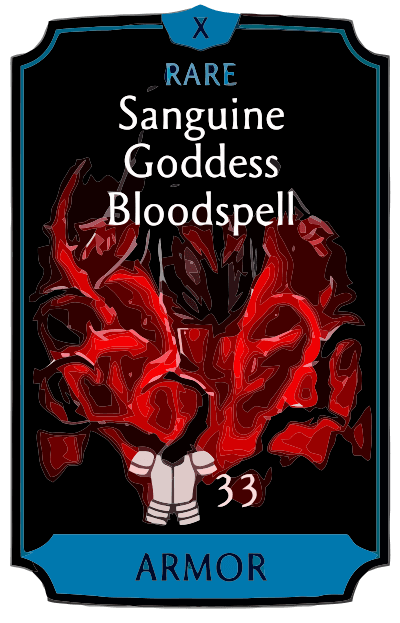
Sanguine Goddess Bloodspell
Equipment
Sanguine Goddess Bloodspell
- 50% opponent unblockable attack chance reduction.
- 20% chance to apply Bleed on Basic attacks. Bleed stacks up to 3 times. 3 stacks of Bleed apply Weaken on the opponent.
- [SKARLET] [SET] If this is equipped alongside Sanguine Goddess Killer Clot, any DIAMOND Skarlet gains the ability to perform a Friendship. Once the opponent’s Health is below 25% and the Friendship bar is filled up by performing multiple Special Attacks, a Friendship can be performed, ending the fight immediately.
- [X] 60% chance to gain Shield for 5sec before any incoming Special Attack. (Unlocks at fusion level X)
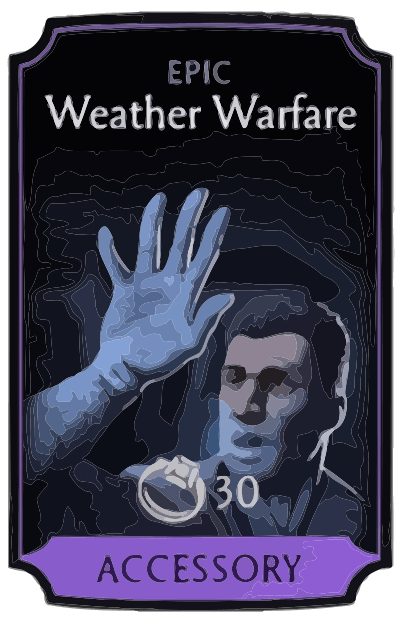
Weather Warfare
Equipment
Weather Warfare
- Frozen opponents remain frozen for up to 2 successive basic hits.
- 100% Chance to also apply Frostbite when freezing an opponent.
- 255% Damage boost. Kold Tower only.
- 450% Health boost. Kold Tower only.
- [X] A gust of wind Freezes tagged-in opponent. (Unlocks at fusion level X)
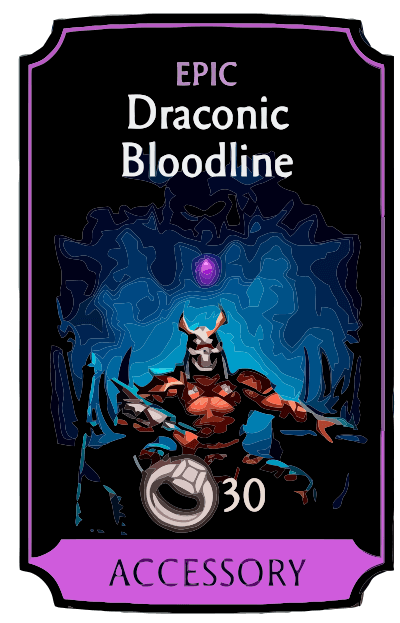
Draconic Bloodline
Equipment
Draconic Bloodline
- 40% Basic Attacks unblockable chance.
- Apply Fire and deal 15% damage of base Attack on tag-in and every 10sec. while user is tagged-in.
- [SHAO KAHN] Shao Kahn has a 15% speed boost. When above 1 Bar of power he gains 5% of Max Power on each Combo Ender, and when above 2 Bars the active opponent is Snared.
- [SHAO KAHN] [SET] If this is equipped alongside Draconic Deathblow, any DIAMOND Shao Kahn gains a 40% chance to perform a Special Combo Ender dealing massive damage. If the last opponent is under 25% health, a Brutality is performed instead of the Special Combo Ender, ending the fight immediately.
- [X] Combo Enders apply stacking Bloodline effect to the opponent. 2 Bloodlines apply Despair and 3 Bloodlines deal additional 10% opponent’s max Health damage, resetting the amount of stacks. (Unlocks at fusion level X)
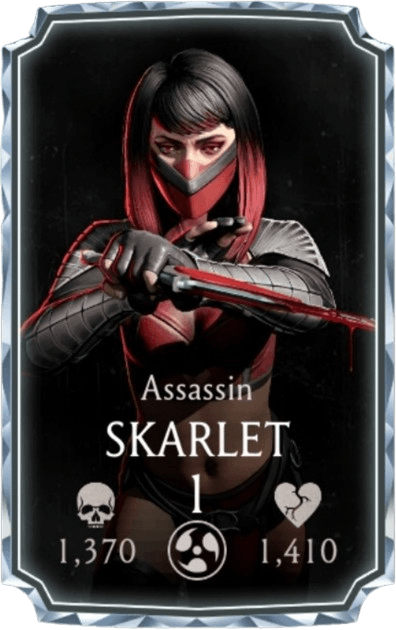
Skarlet
Assassin
Skarlet
Outworld
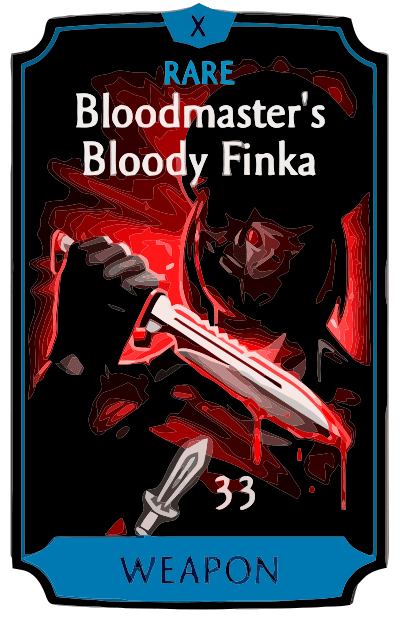
Bloodmaster's Bloody Finka
Equipment
Bloodmaster's Bloody Finka
- 35% Critical Hit chance boost.
- 40% Bleed damage boost.
- 300% Damage boost. Kold Tower only.
- [SKARLET] [SET] If this is equipped alongside Bloodmaster's Iron Curtain, any DIAMOND or ASCENDED Fusion V Skarlet gains a 40% chance to perform a Special Combo Ender dealing massive damage. If the last opponent is under 25% health, a Brutality is performed instead of the Special Combo Ender, ending the fight immediately.
- [X] DOTs can Critically Hit. (Unlocks at fusion level X)
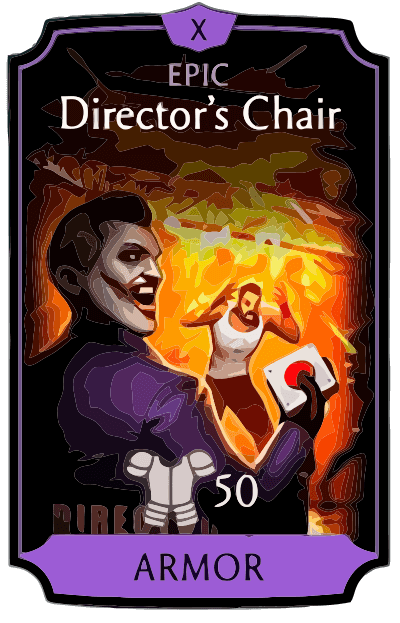
Director's Chair
Equipment
Director's Chair
- 100% Chance to gain Dispel on successful Special Attacks.
- For every bar of Power spent by the user’s team, the team gains 35% Critical Hit Damage boost for 20sec. This Critical Hit Damage boost can stack up to 3 times.
- 1200% Max Health boost. Action Movie Tower only.
- [THE JOKER] For every teammate’s final death, The Joker gains a 10% Power Generation boost and all incoming attacks damage reduction until the end of the match. The faster the teammate dies, the larger the damage reduction is.
- [THE JOKER] [SET] If this is equipped alongside Director’s Makeover, any DIAMOND or ASCENDED The Joker gains a 40% chance to perform a Special Combo Ender dealing massive damage. If the last opponent is under 25% health, a Brutality is performed instead of the Special Combo Ender, ending the fight immediately.
- [X] 50% Chance to gain Invulnerability when debuffs were removed by Dispel from the user. (Unlocks at fusion level X)
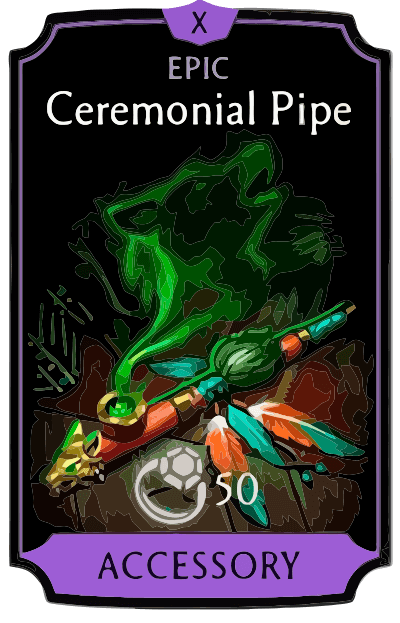
Ceremonial Pipe
Equipment
Ceremonial Pipe
- Gain 100% Damage boost while the character is not affected by any debuff.
- Whenever an opponent tries to apply a positive combat effect on themselves, there is a 100% chance to steal the effect for the user. Works for tagged-out user as well. Unique personal buffs can't be stolen.
- 225% Damage boost. Elder Wind Tower only.
- 450% Max Health boost. Elder Wind Tower only.
- [X] 30% Chance to apply a random buff to the user on Combo Ender. (Unlocks at fusion level X)
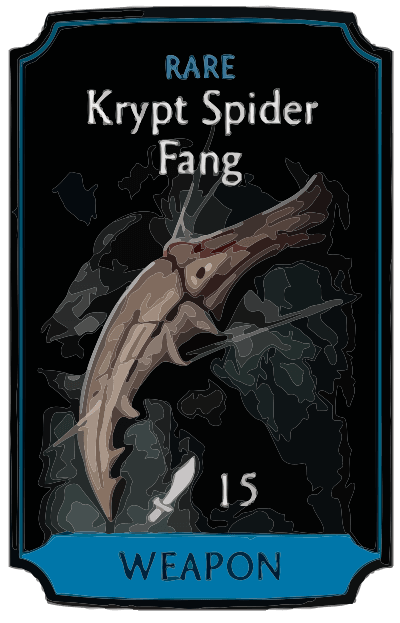
Krypt Spider Fang
Equipment
Krypt Spider Fang
- 40% Chance to apply Poison on Combo Ender.
- 30% Chance to also apply Weaken when Poison is applied.
- 300% Damage boost. Nightmare Tower only.
- [X] Deal 35% more damage on Poison DOTs. (Unlocks at fusion level X)

How To Use

This team is built around powerful damage-over-time effects, with MK11 Scorpion serving as the primary damage dealer. The setup performs exceptionally well in Towers, the Krypt, and Faction Wars, allowing for fast and efficient clears. However, it is not recommended for Tower Boss battles. Ravenous Mileena starts the fight. She equips Vought Prime Armor, granting a shield to teammates when she tags out, while Ice Bomb freezes the first opponent and helps control the opening moments of the match. MK11 Scorpion applies death mark through Abyssal Wraith's Nightmare and inflicts bleed with Sanguine Goddess Bloodspell. These effects continuously drain enemy health throughout the fight. Assassin Skarlet is used to spread bleed across the entire enemy team and increase damage-over-time effects with Bloodmaster's Bloody Finka, making DOT damage the team's primary source of offense.

Best Teams by mode: compositions, equipment and replacements →